Quickbooks Online
How to Connect with QuickBooks
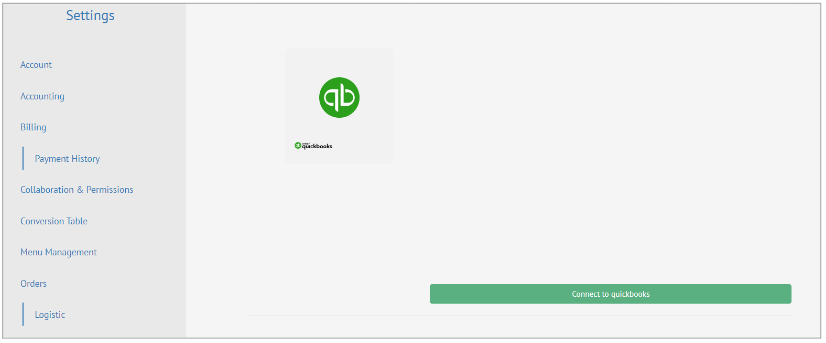
Select Accounting under the Settings header in the menu on the left side of the screen. CIBOS syncs Orders and Credit Memos with Quickbooks Online.
Here are some key notes about the QuickBooks integration:
CIBOS does not know about changes or orders created in QuickBooks Online, only orders initially made in CIBOS;
You may allow CIBOS to make payments if turned on in CIBOS Settings > Accounting;
CIBOS also requires some Quickbooks Online settings, so please look below at the following steps.

Click Connect to QuickBooks to sign into your QuickBooks account.
A pop-window with Intuit Login will appear, sign into your Quickbooks account.
Select your Company Account, click Next and do NOT close window.
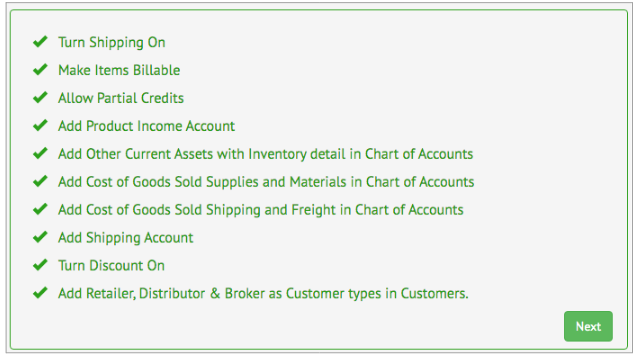
Follow the Video for next steps on how to configure Quickbooks Online to work with CIBOS, or follow the steps below:

In Quickbooks Online navigate to the following
Turn Shipping On (Navigate to Account and Settings > Sales > toggle Shipping On > Save)

Turn Discounts On (Navigate to Account and Settings > Sales > toggle Discount On > Save)

Make Items Billable (Navigate to Account and Settings > Expenses > toggle Make expenses and items billable On > Save)

Allow Partial Credits (Navigate to Account and Settings > Advanced > toggle Automatically apply credits Off > Save)

Add Product Income Account (Navigate to Chart of Accounts > New > Select Income for Account Type, Sales of Product Income for Detail Type > Save)
Add Other Current Assets with Inventory Detail (Navigate to Chart of Accounts > New > Select Other Current Assets for Account Type, Inventory for Detail Type > Save)
Add Cost of Goods Sold Supplies and Materials (Navigate to Chart of Accounts > New > Select Cost of Goods Sold for Account Type, Supplies & Materials - COGS for Detail Type > Save)
Add Cost of Goods Shipping (Navigate to Chart of Accounts > New > Select Cost of Goods Sold for Account Type, Shipping Freight & Delivery - COS for Detail Type > Save)
Add Shipping Account (Navigate to Account and Settings > Advanced > Shipping account, select an account > Save)

Add Retailer, Distributor & Broker as Customer types
-NOTE: for new Quickbooks Account you’ll have to add a Customer before you can add Customer Types.

Quickbooks Workflow Accounts Payable
BOS creates PO –> QB Online creates PO
CIBOS updates PO <–> QB Online update PO
CIBOS PO status to Bill <–> QB Online Bill from PO
CIBOS PO status to Paid <–> QB Online Bill Paid
Quickbooks Workflow Accounts Receivable
CIBOS creates SO –> QB Online Estimate
CIBOS updates SO <–> QB Online Estimate update
CIBOS SO status to Bill <–> QB Online Invoice from SO
CIBOS SO status to Paid <–> QB Online Invoice Paid
